Picture this: a manicure that looks like softened sunlight, a whisper of creamy color that makes your hands look instantly more refined, paired with the timeless sparkle of gold. It’s not just a nail trend; it’s a feeling of understated luxury. Welcome to the world of butter nails with gold accents—the manicure combination that’s taking social media by storm and becoming a staple in beauty salons across Tier 1 countries. Whether you’re preparing for a special event, a professional meeting, or just want to elevate your everyday look, this style offers a perfect balance between serene simplicity and eye-catching detail.
But what exactly are butter nails? And how do you incorporate gold accents without going overboard? If you’ve ever scrolled through Pinterest or Instagram, admired this look, and wondered, “How can I get that at my salon?” or “Can I even do this at home?”—you’ve come to the right place. This guide is your comprehensive roadmap. We’ll break down everything from the core concept to execution, ensuring you can achieve that coveted, magazine-worthy manicure that solves your desire for something both chic and wearable.
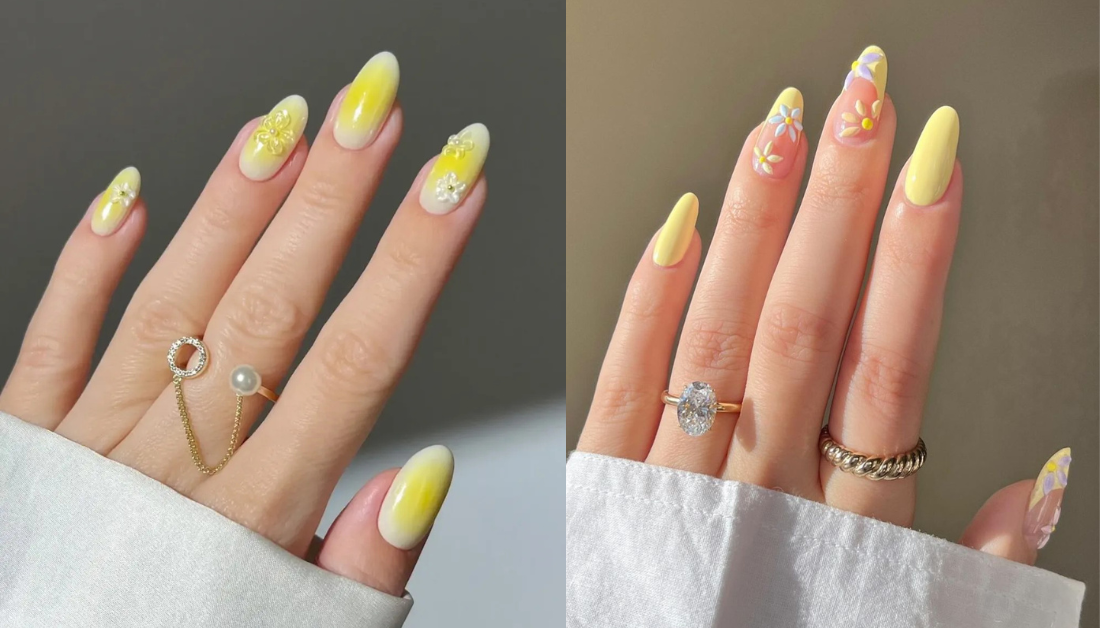
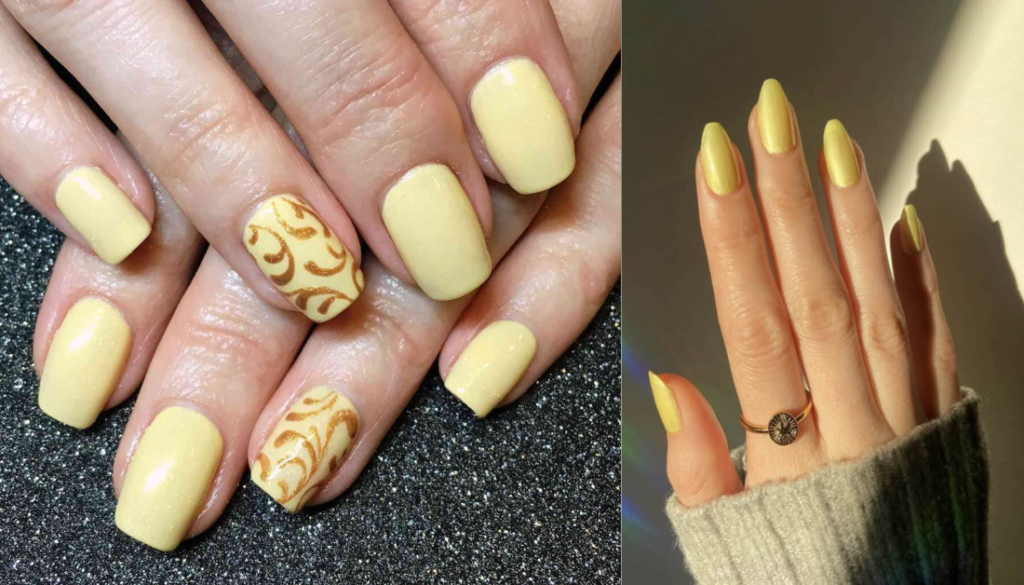
What Are Butter Nails? The Foundation of the Trend
Before we add the gold, let’s understand the base. Butter nails refer to a specific nail aesthetic characterized by a soft, opaque, and creamy polish color. The name comes from the consistency and finish—think of the smooth, spreadable texture of softened butter. The color palette typically lives in the realm of off-whites, warm beiges, milky nudes, and soft vanillas. Unlike stark whites or cool greiges, butter nail colors have a warm, slightly yellow or peachy undertone that flatters a wide range of skin tones, giving the nails a healthy, “your-nails-but-better” glow.
The magic of the butter nail lies in its versatility. It’s neutral enough for the most conservative corporate environments yet inherently stylish and fashion-forward. It provides the ideal clean, minimalist canvas upon which you can build—or, in our case, accent with gold.
Why Pair Butter Nails with Gold Accents?
Gold is the perfect partner for butter tones. Here’s why this combination is a match made in manicure heaven:
- Complementary Warmth: Both butter and gold share warm undertones, creating a harmonious and cohesive look.
- Elevated Contrast: The matte or soft-shine finish of the butter polish makes the metallic shimmer of gold pop beautifully.
- Timeless Appeal: While trends come and go, the combination of a neutral base with metallic detailing is a classic tenet of design and fashion.
- Adaptable Glamour: You can keep it subtle with a thin line or go bold with intricate designs—the butter base ensures the look remains elegant, not garish.
Section 1: Achieving the Perfect Butter Base Color
The success of your entire manicure hinges on this first step. A streaky, uneven, or poorly matched butter base will undermine even the most beautiful gold detail.
Choosing Your Shade: A Skin Tone Guide
Not all butter colors are created equal. Picking the right shade for your skin tone is crucial.
- For Fair to Light Skin: Opt for butter shades with a hint of peach or rosy beige. This prevents your nails from looking too ghostly. Think “creamy peach” or “blush nude.”
- For Medium to Olive Skin: You have the widest range! True, warm vanillas and caramel-tinged beiges will look stunning. Avoid shades that are too pale or ashy.
- For Deep Skin Tones: Rich, saturated butter tones are your friend. Look for descriptions like “warm caramel,” “honey beige,” or “bronzed nude.” These will provide a beautiful, high-contrast yet natural look.
Pro Tip: Always swatch the color on one nail in natural daylight before committing to the full set. The color in the bottle can look very different on your skin.
Application Tips for a Flawless Finish
- Prep is Everything: Start with clean, dry nails. Push back cuticles, lightly buff the surface, and always use a good-quality base coat. This prevents staining and helps the polish adhere.
- The Thin Layer Method: Buttery polishes can be prone to streaking. The solution? Apply two to three very thin coats instead of one or two thick ones. Allow each coat to dry for 60-90 seconds before applying the next.
- Seal the Deal: A high-quality, quick-dry top coat is non-negotiable. It will seal in your color, add durability, and give you that perfect glossy or soft-matte finish (your choice!) before you add gold accents.
Section 2: Gold Accent Ideas: From Subtle to Statement
This is where you can let your personality shine. The gold accent is your moment to customize. Here are popular and achievable ideas, categorized by effort level.
H3: Minimalist & Chic (Beginner-Friendly)
- The Golden Tip (A Subtle French): Instead of a white tip, use a thin strip of gold foil or a fine line of gold polish. It’s a modern twist on a classic.
- Single Accent Nail: Paint all nails in your butter shade, then paint one nail on each hand (typically the ring finger) with a solid gold polish.
- Delicate Line Work: Using a thin nail art brush or striping tape as a guide, add a single thin gold line along the cuticle (a “reverse French”), across the middle of the nail, or diagonally from one corner.
H3: Artistic & Detailed (Intermediate)
- Gold Flakes and Foils: Press small, irregular pieces of gold leaf or flake onto a tacky base coat for a gorgeous, organic, and textured effect.
- Geometric Shapes: Use striping tape to create clean triangles, squares, or negative space designs, filling in the shapes with gold polish.
- Metallic Marble: Swirl a bit of gold polish into a slightly wet butter base coat (on the nail) with a toothpick or dotting tool for a luxurious marble effect.
H3: Glamorous & Bold (Advanced/Salon-Worthy)
- Intricate Hand-Painted Designs: Think delicate gold vines, miniature suns, or abstract art. This is best done by a skilled nail technician.
- 3D Gold Embellishments: Small gold pearls, chains, or charms attached with nail glue. Remember, these are high-maintenance and may not suit an extremely active lifestyle.
- Gold Glitter Gradient (Ombre): Fade gold glitter from the tip of the nail down into the butter base for a dazzling, celebratory look.
Section 3: Step-by-Step: Creating Butter Nails with Gold Accents at Home
Feeling inspired? Let’s walk through a simple yet stunning design: Butter Nails with a Thin Gold French Tip.
You’ll Need: Butter-colored polish, gold nail art polish or gel, base coat, top coat, nail cleanser, fine nail art brush (or a toothpick and steady hand!), and optional striping tape for perfect lines.
- Prep and Base: Clean, shape, and buff your nails. Apply your base coat. Let it dry completely.
- Apply Butter Polish: Apply your first thin coat of butter polish. Let it dry for 90 seconds. Apply a second thin coat. Ensure it’s completely dry—this is critical before adding gold.
- Create the Gold Tip: If using striping tape, place a piece across each nail where you want the gold line to be, leaving the tip exposed.
- Using your gold polish and a fine brush (or the polish brush itself if it’s precise), carefully paint the exposed tip. Work in smooth, confident strokes.
- If you’re freehanding, rest your hand on a flat surface and use the brush to draw a thin line across the tip.
- Perfect and Seal: Carefully remove the striping tape (if used) before the gold dries. If you make a mistake, dip a small brush in nail polish remover to clean up the edges. Once the gold is touch-dry, apply a generous layer of top coat over the entire nail to seal and blend the layers, creating a smooth, professional finish.
Section 4: Maintaining Your Luxurious Manicure
To ensure your butter nails with gold accents last as long as possible:
- Wear Gloves: For dishwashing, cleaning, or any task involving chemicals or prolonged water exposure.
- Moisturize: Apply cuticle oil daily. Hydrated nails and cuticles are less prone to chipping.
- Mind Your Top Coat: Reapply a fresh layer of top coat every 2-3 days to refresh the shine and reinforce the seal, especially over the gold accents.
- Be Gentle: Use the pads of your fingers instead of your nails for tasks like typing or opening cans.
FAQ: Your Butter Nails with Gold Accents Questions, Answered
Q: Can I get this look with nail extensions or gels?
A: Absolutely! In fact, gel polish is an excellent option for this look. The butter color applies streak-free, and chrome gold powders or gel polishes can create incredibly vibrant, long-lasting gold accents. It’s a salon favorite.
Q: My gold polish always chips first. What can I do?
A: This is common. The key is to encapsulate the gold. After applying the gold accent, always seal it with a thick, clear top coat, ensuring you wrap the tip of the nail. For the most durability, consider using a gel top coat cured under a UV/LED lamp.
Q: Is this style appropriate for a formal workplace?
A: Yes, particularly the minimalist versions (a single gold line or a subtle accent nail). The butter base is inherently professional, and a touch of gold reads as polished and detail-oriented.
Q: What’s the best way to remove gold glitter or foil accents?
A: For stubborn glitter or foil, use the foil method: soak a cotton pad in acetone, place it on your nail, and wrap each fingertip in a small piece of aluminum foil for 10-15 minutes. This will break down the polish for easy removal without excessive scraping.
Conclusion: Your Moment for Understated Shine
Butter nails with gold accents are more than a passing fad; they are a testament to the power of sophisticated simplicity. This look solves the eternal style dilemma—how to be both timeless and trendy, quiet and confident, simple yet special. It’s a manicure that complements your style instead of competing with it.
So, whether you’re booking that salon appointment or gathering your tools for a DIY session, embrace the process. Don’t be afraid to start with a single gold line or a sprinkle of flakes. Your perfect, personalized version of this elegant trend is waiting to be created. Go ahead, give your fingertips that touch of buttery softness and golden glow. You deserve that little bit of everyday luxury. Now, show off those stunning nails!