Tired of the same opaque nail colors and craving something fresh, fun, and utterly unique for your next manicure? Look no further than the whimsical world of Korean jelly nails. This isn’t just a polish; it’s a vibe. Originating from the beauty-forward streets of Seoul, jelly nails have taken the global nail scene by storm, offering a playful, translucent look that’s both modern and incredibly versatile. Imagine the juicy gleam of a gummy bear, the soft glow of stained glass, or the delicate sheen of watercolor art—all captured on your fingertips. If you’re ready to elevate your nail game with a trend that’s equal parts sophisticated and sweet, you’ve come to the right place. This guide will walk you through everything you need to know to achieve the perfect Korean jelly manicure at home or confidently ask for it at your next salon appointment.
What Exactly Are Korean Jelly Nails?
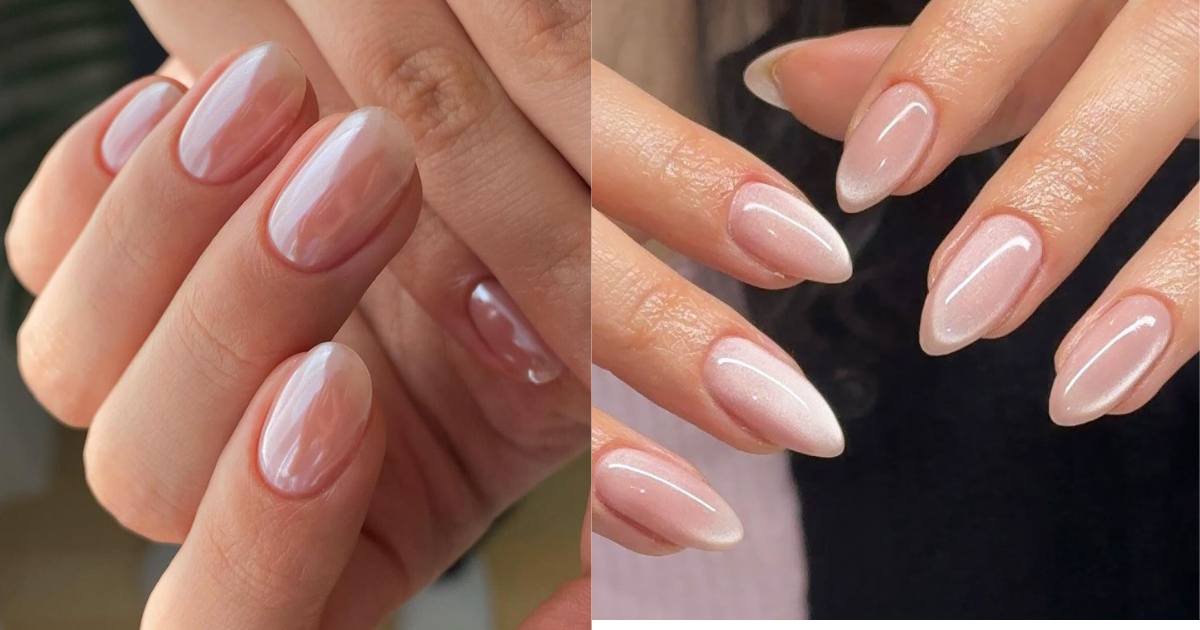
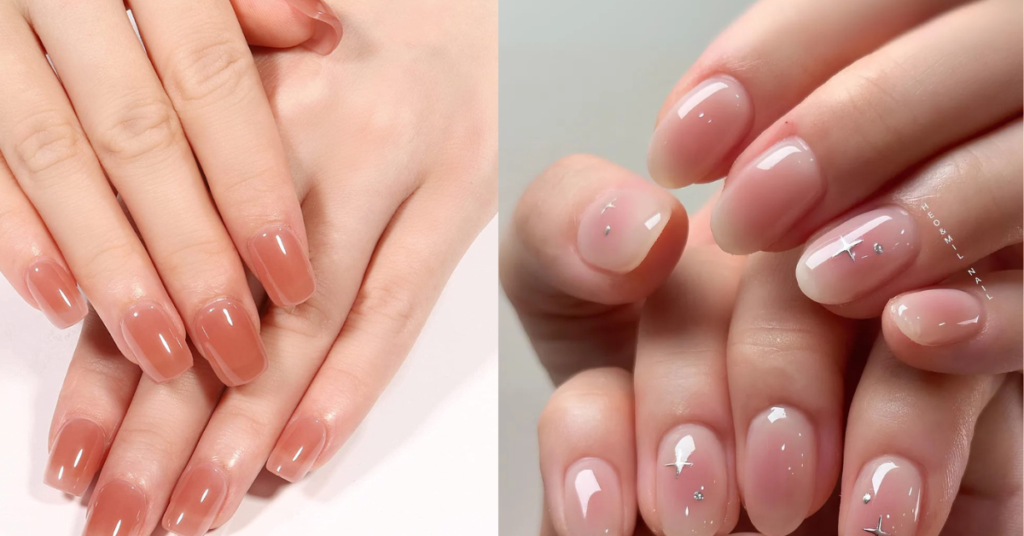
At its core, the jelly nail aesthetic is defined by its translucent, gel-based finish. Unlike traditional opaque nail polish, jelly formulas are sheer, allowing light to pass through and create a soft, dimensional effect. Think of it as the “your nails but better” trend, but with a candy-colored twist.
The key characteristics are:
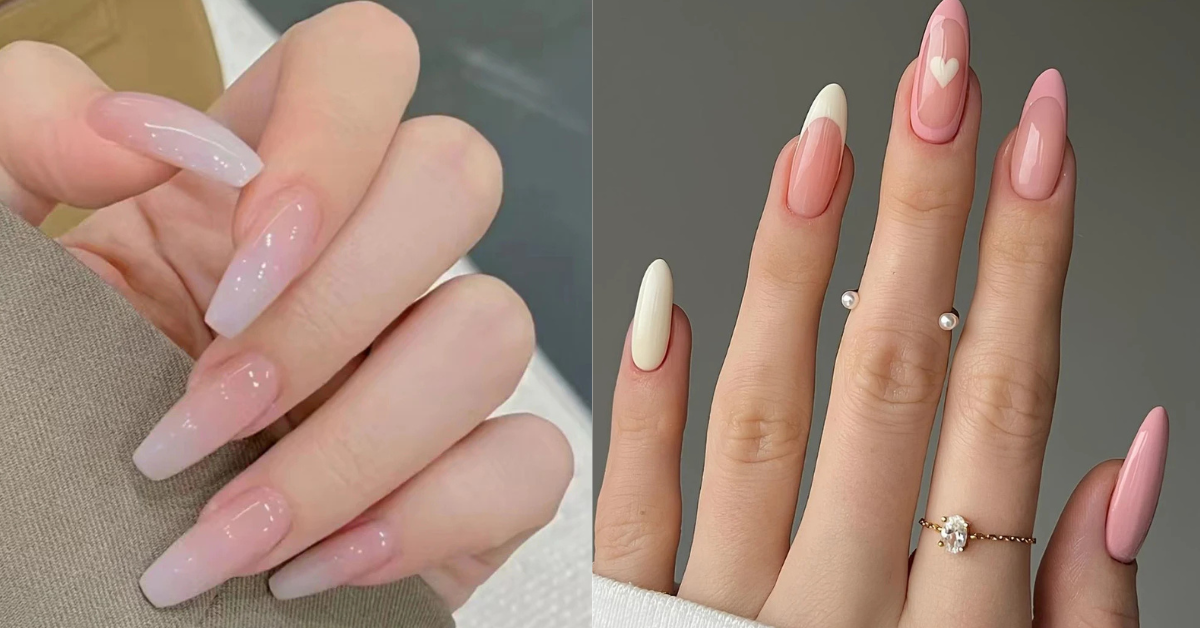
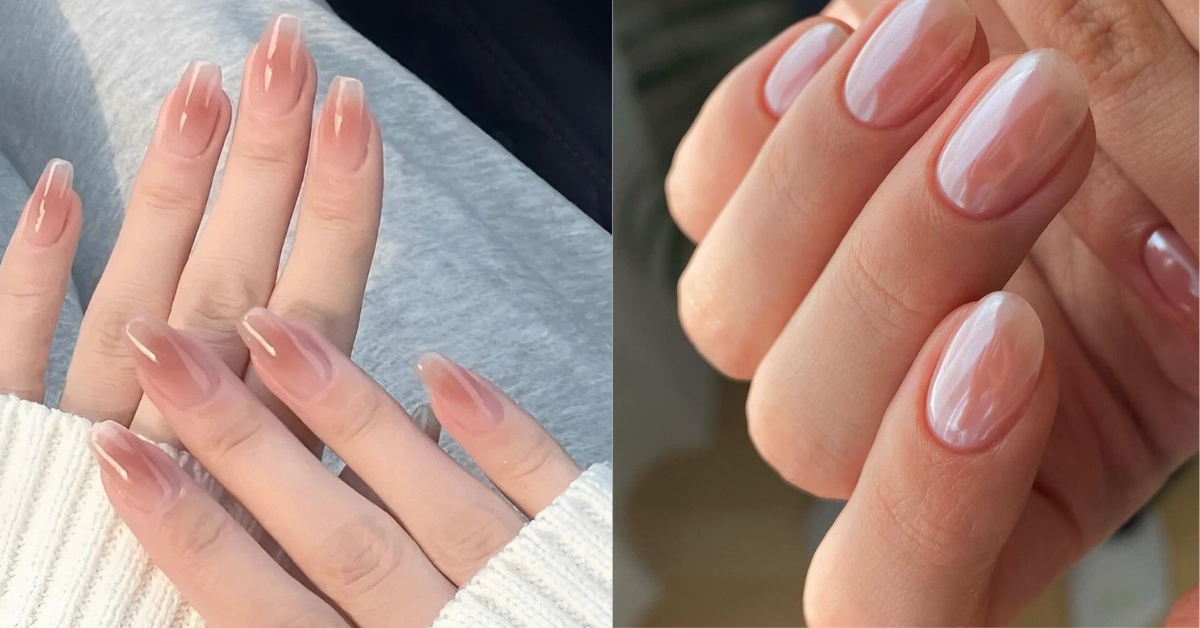
- Sheer & Buildable Color: The color is transparent and can be layered. One coat gives a whisper of tint, while multiple coats intensify the color while maintaining that see-through quality.
- High-Gloss, Squishy Finish: The result is a shiny, plump-looking nail that resembles juicy jelly or soft gelatin. It’s this “squishy” visual effect that gives the trend its name.
- Modern & Playful: It bridges the gap between a classic French manicure and bold nail art, offering a fresh alternative that feels young, creative, and chic.
This trend is a staple in Korean nail art, often mixed with other popular elements like minimalist line art, tiny pearls, or glitter gradients for a truly customized look.
Why You’ll Love the Jelly Nail Look
So, why is everyone obsessed? The benefits go beyond just looking pretty.
- Illusion of Healthier Nails: The translucent sheen mimics the natural glow of healthy, hydrated nails, making them look plump and strong.
- Unmatched Versatility: Jelly nails are a perfect base. They work beautifully on short or long nails and can be dressed up with art or worn elegantly alone.
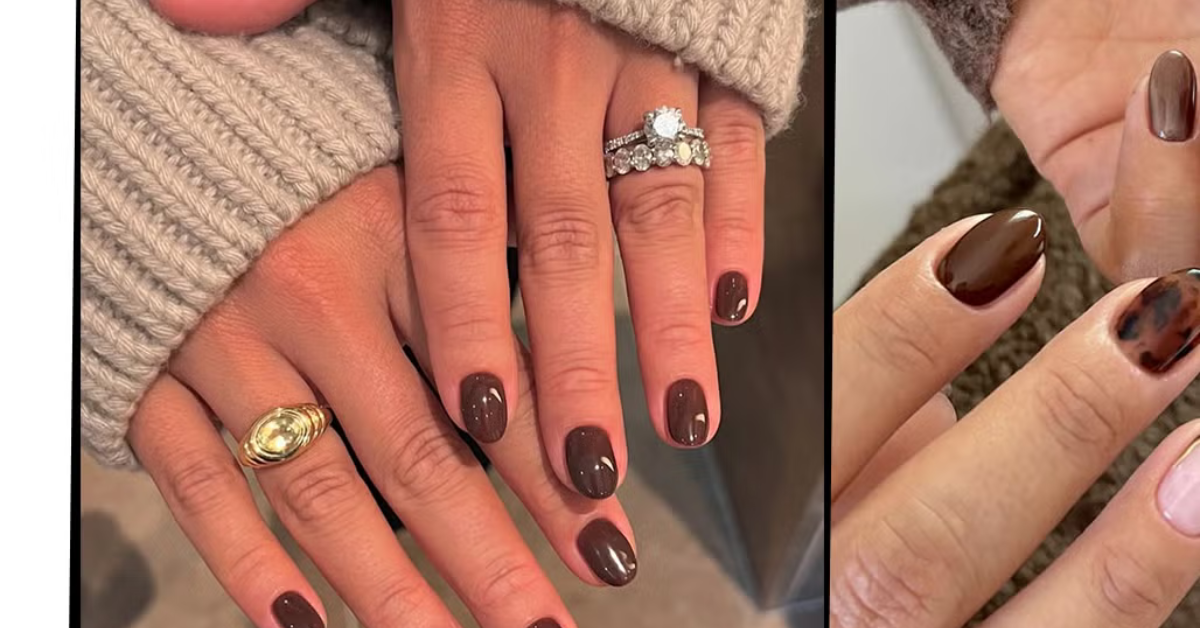
- Perfect for Every Season: A pale pink jelly feels perfect for spring, a vibrant orange is ideal for summer, a deep burgundy jelly suits autumn, and a frosty blue shines in winter.
- Grows Out Gracefully: Unlike a stark, opaque color, the sheer nature of jelly polishes means regrowth is far less noticeable, making your manicure last visually longer.
Your Step-by-Step Guide to DIY Korean Jelly Nails
Ready to create the look at home? With the right products and a little patience, you can achieve salon-worthy results. You will need: a UV/LED nail lamp, a jelly gel polish kit (base coat, your chosen jelly colors, and a top coat), nail prep supplies (buffer, file, cleanser), and optional nail art tools.
Step 1: Prep is Everything
Start with clean, bare nails. Gently push back your cuticles, file your nails to your desired shape (soft oval or squoval works beautifully with this trend), and lightly buff the surface to remove shine. Wipe each nail thoroughly with a lint-free wipe soaked in 99% isopropyl alcohol to remove all oils and dust. This step is crucial for the gel to adhere properly and last.
Step 2: Apply a Thin Base Coat
Apply a very thin layer of acid-free gel base coat to each nail, ensuring you cap the free edge. Cure under your LED/UV lamp for the full time recommended by the brand (usually 30-60 seconds).
Step 3: Layer Your Jelly Color
Here’s where the magic happens. Apply your first coat of jelly gel polish. It will look streaky and very sheer—that’s normal! Cure it. For a soft wash of color, you might stop at two coats. For a more intense, juicy look, apply a second and even a third coat, curing between each layer. The buildable nature is what creates that beautiful depth.
Step 4: Get Creative (Optional)
Before your final top coat, add any nail art. Popular ideas include:
- A simple glitter gradient at the base of the nail.
- Micro-pearls or foil flakes placed delicately.
- Thin line art or tiny flowers using a detail brush and opaque gel paints.
- A “jelly sandwich” effect: add a layer of glitter between two coats of jelly polish.
Step 5: Seal with a Top Coat
Apply a generous, but not dripping, layer of high-gloss no-wipe top coat. Make sure to seal the edges to prevent chipping. Cure for the full time. Wipe with alcohol if your top coat requires it. Admire your juicy, glossy masterpieces!
Pro Tips for the Perfect Jelly Finish
- Invest in Quality Polishes: Not all sheer gels are created equal. Look for brands specifically labeled “jelly” or “juicy” for the best translucent effect. Popular Korean brands like From the Nail, F Gel, and Mayour are excellent, but many non-Korean brands now offer great jelly lines.
- Embrace the Sheerness: Don’t try to make it opaque. The charm is in the translucency. If you want more coverage, choose a darker jelly shade.
- Cap Those Edges: When applying base, color, and top coat, always run the brush along the very tip of your nail. This “capping” technique significantly reduces premature chipping.
- Keep it Clean: Any smudges or skin contact with uncured gel will ruin the smooth, glassy finish. Use a small brush dipped in alcohol to clean up the cuticle area before curing each layer.
Jelly Nails FAQ
Q: Can I do jelly nails with regular nail polish?
A: Yes, but the effect is different. Look for “sheer” or “jelly” formulas in classic polish. They won’t have the same plump, 3D gel effect and will be less durable, but you can achieve a similar translucent look with multiple coats and a good glossy top coat.
Q: How long do jelly gel manicures last?
A: With proper application and prep, a gel-based jelly manicure can last a full 2-3 weeks without chipping, just like any other gel manicure.
Q: Are jelly nails suitable for short nails?
A: Absolutely! In fact, the juicy, plump effect can make shorter nails look incredibly chic and healthy. It’s a fantastic style for any nail length.
Q: My jelly polish looks streaky. What did I do wrong?
A: Streakiness is normal on the first coat! The key is to apply thin, even layers and trust the process. The second and third coats will even out the color and build that beautiful, smooth depth.