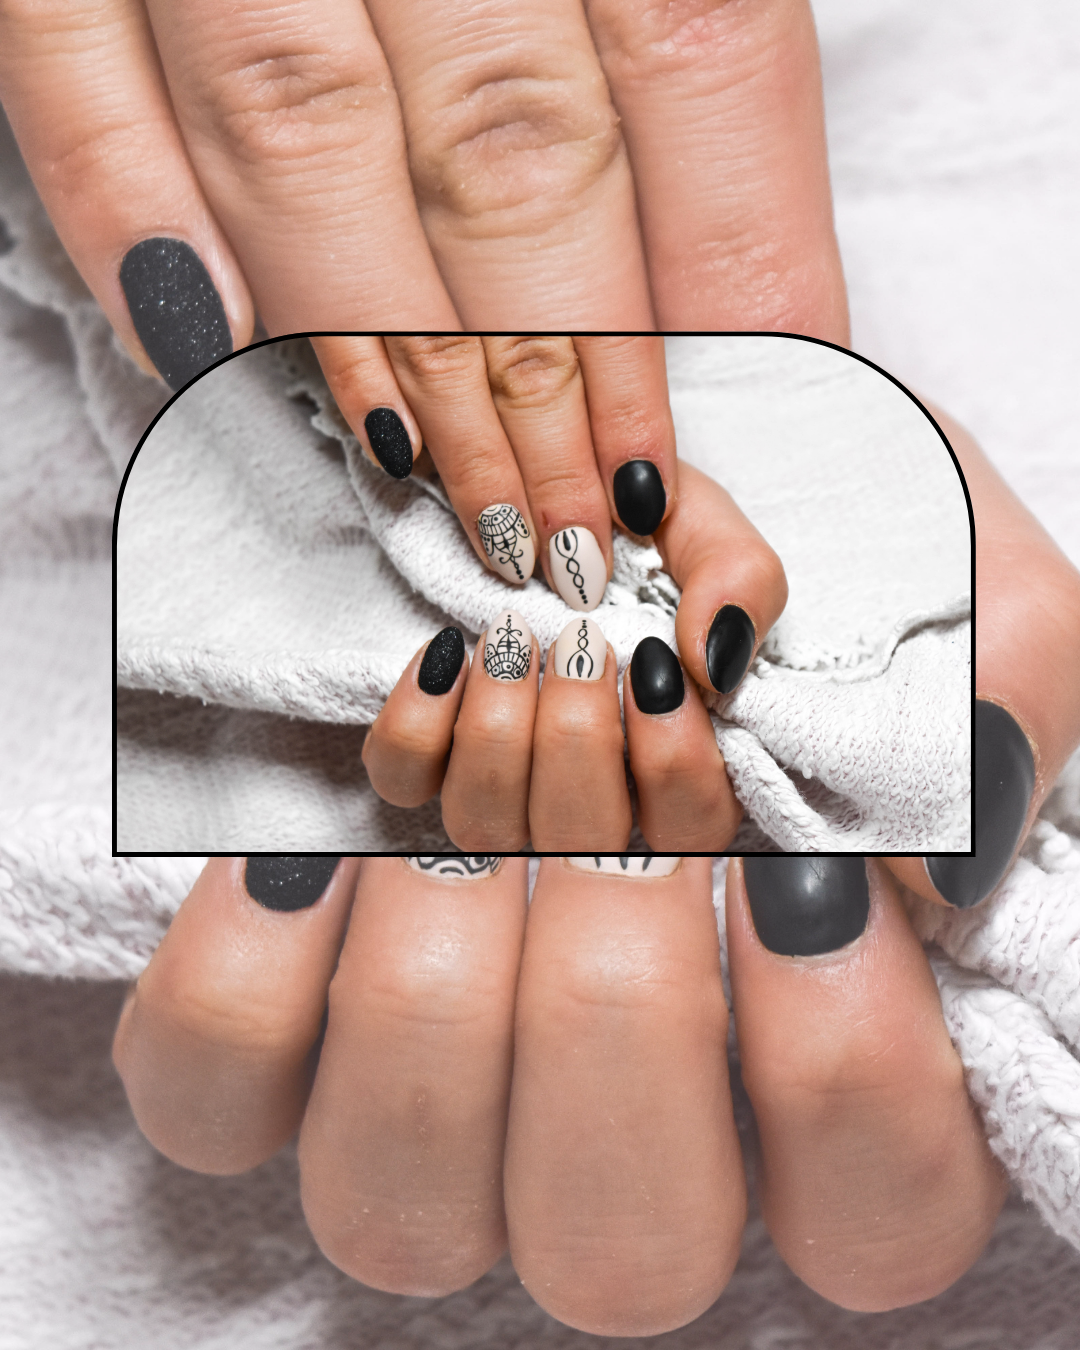
I finally saw a tulip poking its head out of the frozen dirt this morning, and it hit me: the “Gothic Winter” era of my life is officially over. My heavy wool coat is going into storage, and my dark, moody espresso manicure needs to follow suit. But I’m not quite ready for the aggressive neon pinks that usually scream “I’m on spring break!”
I want something that feels like fresh air. Something that looks like light hitting a puddle or a clean window pane.
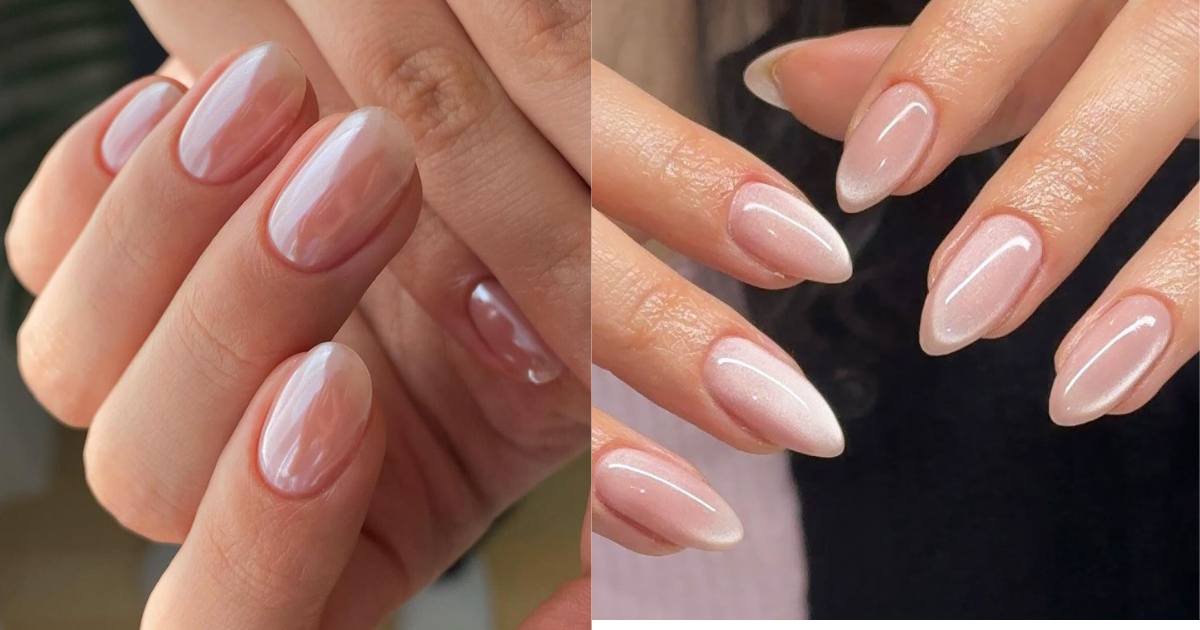
Enter glass nails.
If you haven’t fallen down this rabbit hole yet, welcome to the most mesmerizing corner of the internet. We aren’t talking about literal glass (thank God, because I value my ability to type), but a finish so clear, reflective, and glossy that your hands basically look like they belong to a high-end porcelain doll. It’s the ultimate “clean girl” aesthetic with a futuristic, high-fashion twist.
What Are Glass Nails, Anyway?
Let’s get the terminology straight. While some people use “glass nails” to describe clear press-ons, the real trend—the one pioneered by Korean nail artists like Eunkyung Park—is all about the shattered glass effect or the high-shine “syrup” look.
It involves using tiny slivers of iridescent film to mimic the way light bounces off a broken mirror. Or, in its most minimalist form, it’s a crystal-clear gel overlay that makes your natural nail look like it’s been dipped in liquid diamonds. It’s the perfect bridge between the cozy textures of winter and the airy pastel palettes we crave as the weather warms up.
Why This Trend is Actually Practical
You might think clear nails would show every flaw, but they’re actually the ultimate hack for nail longevity. Because the base is often sheer or nude, you don’t get that “cliff” of regrowth at the two-week mark. You can stretch a glass manicure way longer than a solid red or black.
How to Get the “Shattered” Look Without the Bad Luck
If you want the multidimensional, holographic version of this trend, you’re looking for the shattered glass technique. This is for the person who wants their hands to be a conversation starter at brunch.
The Prep Work: Cuticle Care and Canvas
Before you even think about the iridescent film, you need a clean slate.
- Prioritize cuticle care. Use a high-quality oil and a gentle pusher. Because the look is so transparent, any hangnails or dry skin will be magnified.
- Shape is everything. Glass nails look best on an almond or “coffin” shape. It gives the light more surface area to play with.
The Layering Secret
The “glass” isn’t actually glass—it’s cellophane or specialized iridescent foil.
- Base Layer: Apply a sheer, milky base.
- The Pieces: Cut the foil into tiny, irregular triangles. (Pro tip: This is a great task to do while listening to a true-crime podcast).
- The Placement: Randomize it! Nature isn’t symmetrical, and neither is shattered glass.
Expert Pro Tip: Use a wax pencil to pick up the tiny foil pieces. Trying to do this with tweezers is a one-way ticket to a frustrated meltdown. Press them firmly into the “tacky” layer of your gel polish so they don’t stick up and snag your hair.
The Minimalist “Crystal” Variation
Maybe you don’t want the holographic disco ball effect. Maybe you just want your nails to look incredibly healthy, shiny, and expensive. This is the “syrup nail” or “jelly nail” approach.
The Color Palette
We’re moving away from the heavy creams and moving toward translucent tints. Think of it like watercolor paint for your nails.
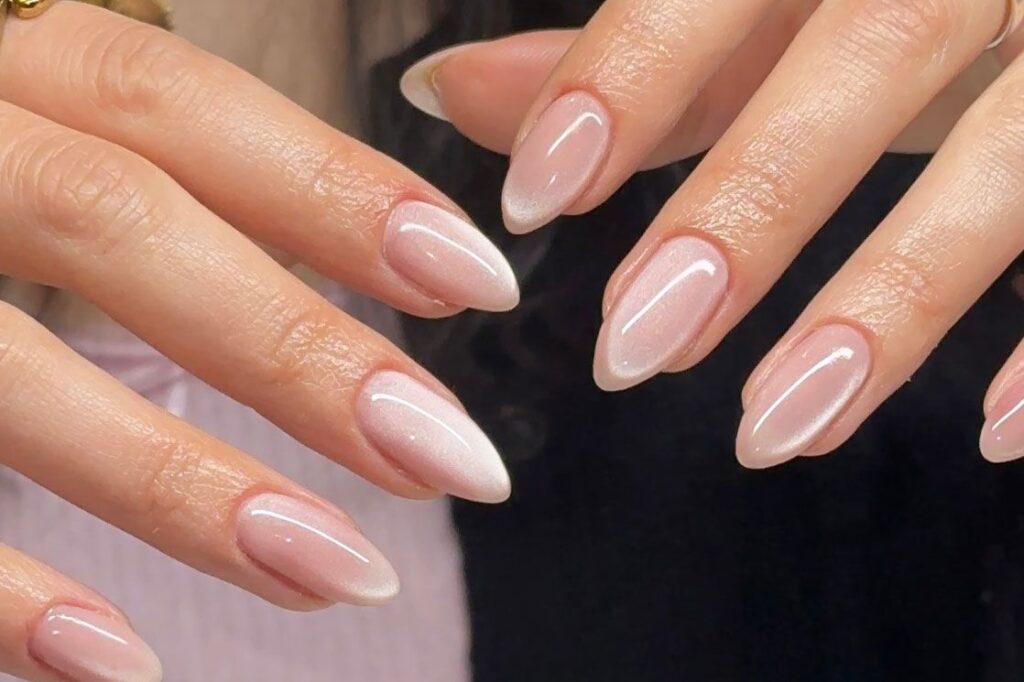
- Soft Pinks: Gives that “born with it” healthy glow.
- Icy Blues: A nod to the blueberry milk trend but with 100% more transparency.
- Lavender Tints: Perfect for the transition into spring florals.
Achieving the Depth
The trick to the “crystal” look is building depth through layers. Instead of one thick coat of color, you want several thin, watery layers of a jelly polish. This creates a 3D effect where the color seems to be floating inside the nail rather than sitting on top of it.
Expert Pro Tip: If you don’t have jelly polish, make your own! Mix one drop of your favorite vibrant spring shade with five drops of clear top coat. Shake it up, and you’ve got a custom “glass” tint.
Troubleshooting the Glass Manicure
I’m going to be real with you: things can go wrong. Since these nails are all about light and clarity, bubbles are your biggest enemy.
Avoiding the Bubble Trap
When you’re working with clear gels or thick top coats, don’t shake the bottle. Rolling it between your palms is the move. Shaking introduces air, and air becomes tiny bubbles that look like “glass imperfections” (and not the cool kind).
Protecting the Shine
The enemies of glass nails are household chemicals and rough surfaces. If you’re scrubbing the bathtub without gloves, your “glass” will look like “frosted plastic” within forty-eight hours.
Expert Pro Tip: Apply a fresh layer of thin, non-wipe top coat every 5-7 days. This “fills in” the micro-scratches from daily life and keeps the reflection sharp.
Styling Your New Manicure
The best part about glass nails is that they are the ultimate wardrobe chameleons.
- With a Spring Trench: It looks sophisticated and architectural.
- With Casual Denim: It adds a “polished” (pardon the pun) edge to an otherwise basic outfit.
- With Jewelry: This is where the magic happens. Silver rings look particularly stunning against the cool tones of a glass manicure.
Final Thoughts: The Joy of a Fresh Start
There is something deeply satisfying about looking down and seeing light reflecting off your fingertips. It feels like a fresh start. After months of hiding under mittens and dealing with dry, winter skin, glass nails are a celebration of clarity and brightness.
Whether you go for the full shattered-mirror drama or the soft, watery glow of a crystal finish, you’re embracing a look that is as resilient as it is beautiful. And honestly? In a world that feels a bit heavy lately, we could all use a little more light.