Butter Nails: The Ultimate Guide to the Soft, Chic Manicure Everyone Loves
Butter nails are everywhere right now—and it’s easy to see why. This soft, creamy manicure trend delivers a clean, polished look without being bold or over-the-top. If you’re tired of loud nail designs, want something elegant yet modern, or need a manicure that works with every outfit, butter nails might be exactly what you’re looking for.
In this complete guide, you’ll learn what butter nails are, why they’re trending, how to achieve them step by step, and how to make them last longer. Whether you prefer DIY manicures or salon visits, this article will help you master the butter nails look with confidence.
What Are Butter Nails?
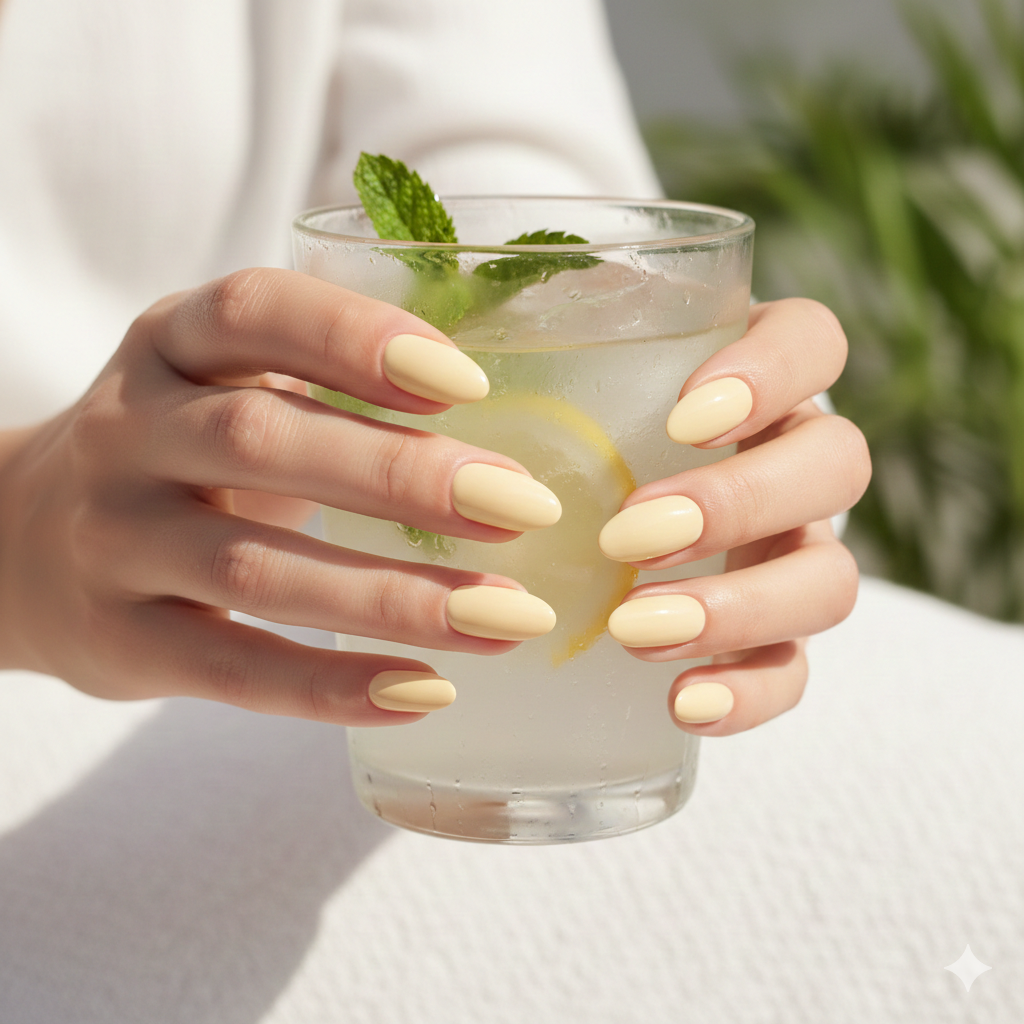
Butter nails are a manicure style featuring a soft pastel yellow shade inspired by the natural color of butter. Unlike bright yellow or neon tones, butter nails are subtle, creamy, and refined.
They are known for being:
- Muted and gentle, not bold or flashy
- Creamy rather than shiny or harsh
- Warm-toned, often with a milky or sheer finish
Butter nails give off an effortlessly chic vibe. Think of them as the nail version of a cozy cashmere sweater or a classic white T-shirt—simple, timeless, and flattering.
Why Are They Called “Butter” Nails?
The name comes directly from the color. Butter nails resemble:
- Freshly churned butter
- Pale yellow cream
- Soft custard or vanilla tones
They’re meant to look smooth, warm, and elegant—not loud or attention-grabbing. The goal is softness and balance, not brightness.
Why Butter Nails Are So Popular Right Now
Butter nails aren’t just another passing trend. They’ve become popular because they solve a common beauty problem: looking polished without trying too hard.
1. They Look Clean, Minimal, and Expensive
Butter nails add just enough color to feel intentional while still staying neutral. They pair beautifully with:
- Gold or minimalist jewelry
- Neutral and monochrome outfits
- Soft makeup or clean beauty looks
The result is a manicure that looks neat, thoughtful, and high-end—without being flashy.
2. They Work in Every Season
Unlike trendy nail colors that only work at certain times of the year, butter nails are incredibly versatile:
- Spring & Summer: Light, fresh, and airy
- Fall & Winter: Warm and cozy, balancing darker outfits
No matter the season, butter nails always feel appropriate.
3. They Complement Many Skin Tones
Butter nails are surprisingly flattering across a wide range of skin tones when you choose the right undertone:
- Fair skin: Soft butter shades add warmth without overpowering
- Medium skin tones: Creamy yellow creates a healthy, glowing effect
- Deeper skin tones: Butter nails pop beautifully and create elegant contrast
This versatility is one reason butter nails are loved worldwide.
How to Get Perfect Butter Nails (Step-by-Step Guide)
You can achieve butter nails at home or at a salon. The key is proper nail prep, the right shade, and a smooth finish.
Step 1: Prepare Your Nails Properly
Butter nails highlight clean, well-groomed nails, so prep is essential.
Before applying polish:
- Remove any old nail polish completely
- Trim and shape your nails (short to medium lengths work best)
- Gently push back cuticles
- Lightly buff the nail surface to smooth ridges
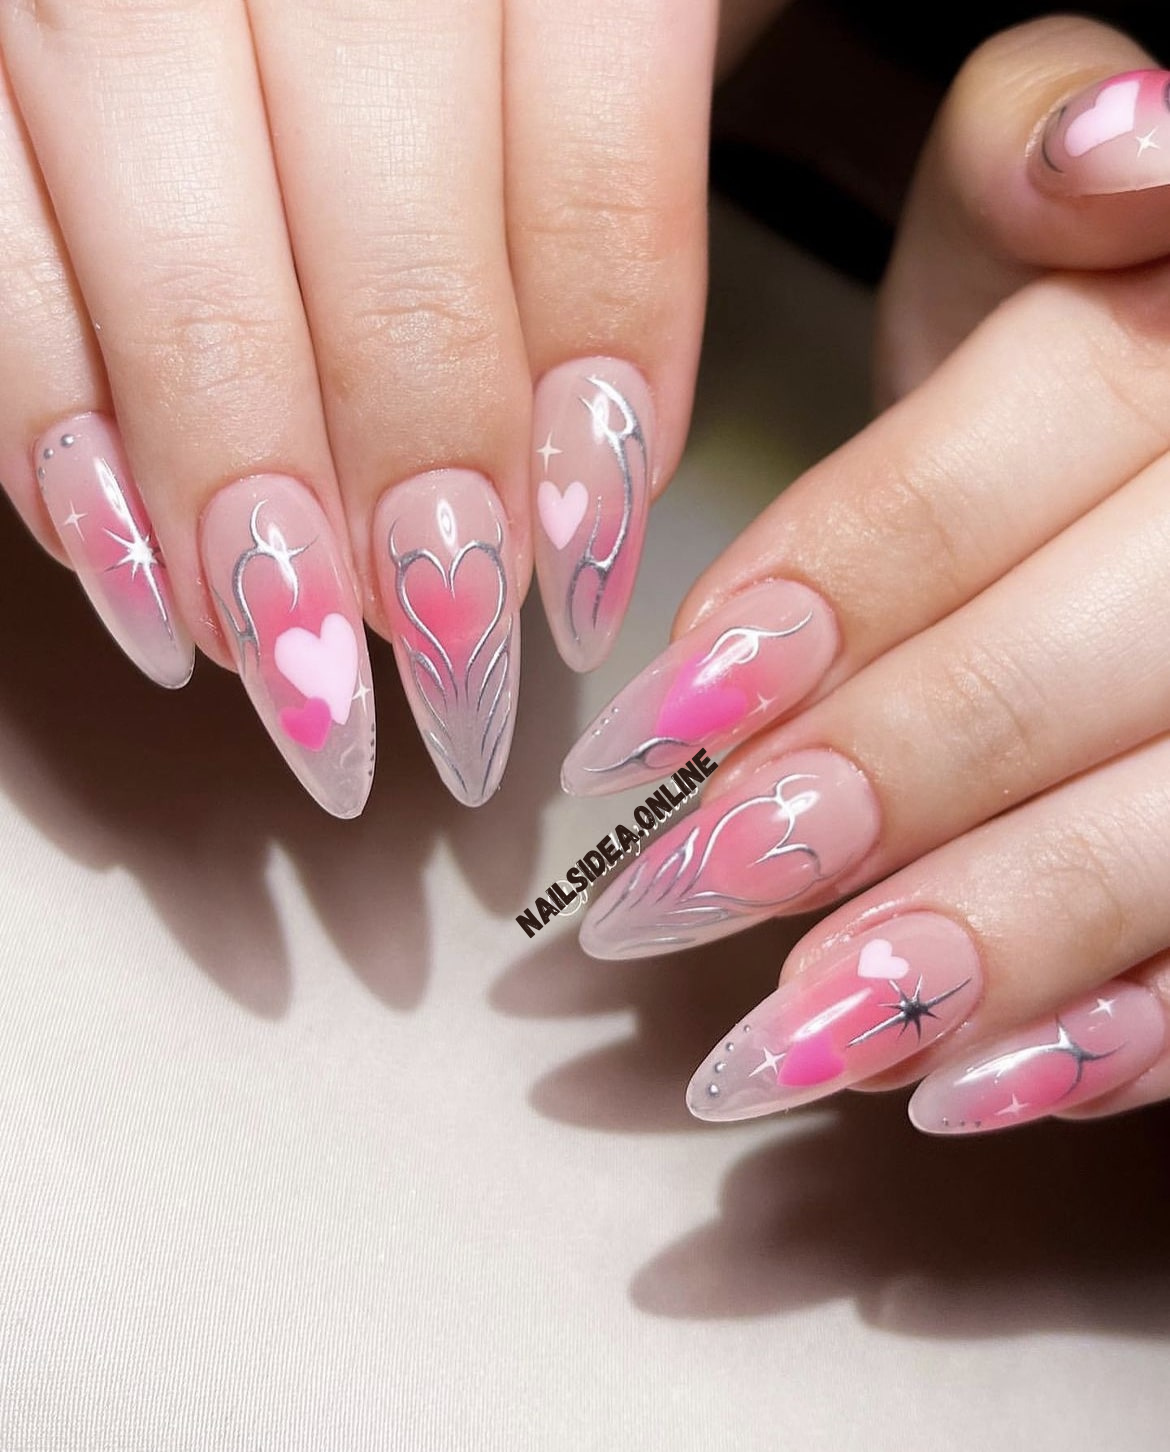
Tip: Almond, oval, and soft square shapes look especially elegant with butter nails.
Step 2: Choose the Right Butter Yellow Shade
Not every yellow polish will work. The shade makes or breaks the look.
Look for shades described as:
- Creamy yellow
- Soft butter
- Pastel yellow
- Milky lemon
Avoid:
- Neon yellow
- Bright sunflower shades
- Green-leaning or overly cool yellows
Pro tip: If the color reminds you of melted vanilla ice cream or soft custard, it’s perfect for butter nails.
Step 3: Always Use a Base Coat
A base coat is non-negotiable for butter nails.
It helps to:
- Prevent yellow staining
- Smooth out uneven nail texture
- Make pastel shades apply evenly
If your nails have ridges, use a ridge-filling or strengthening base coat for the best results.
Step 4: Apply Thin, Even Layers
Butter nails should look smooth and streak-free.
For best results:
- Apply two thin coats instead of one thick one
- Allow each layer to dry fully before applying the next
- Use light, steady brush strokes
If the polish is sheer, a third thin coat is fine.
Step 5: Choose the Right Finish
Your top coat can change the entire vibe of butter nails:
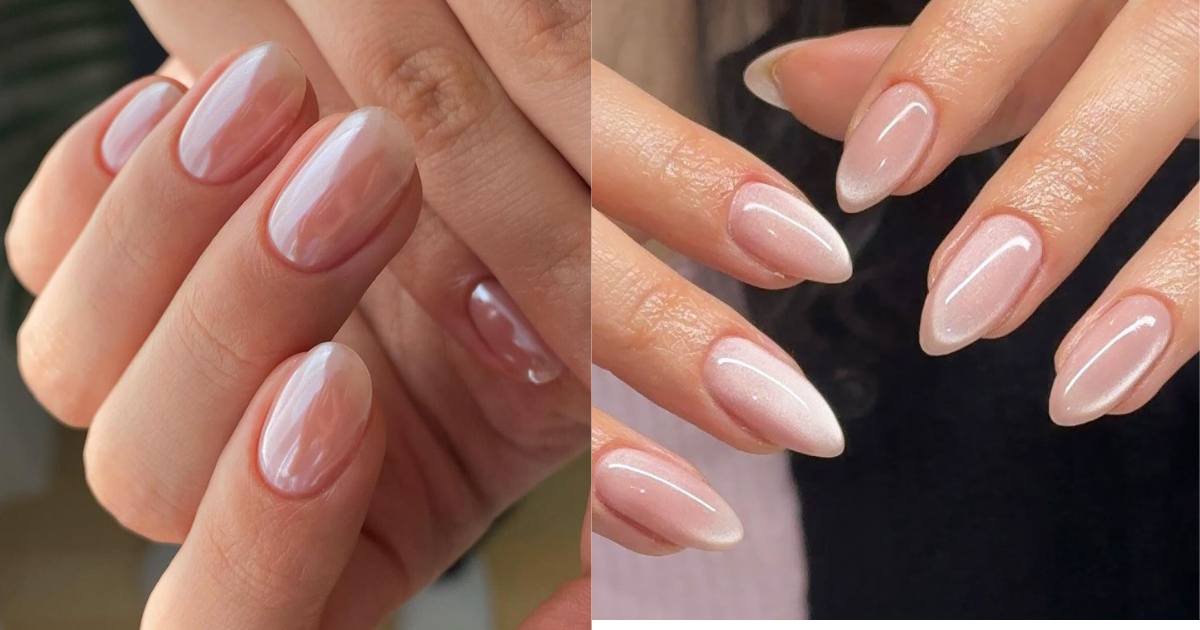
- Glossy finish: Classic, clean, and salon-style
- Milky or jelly finish: Soft, modern, and trendy
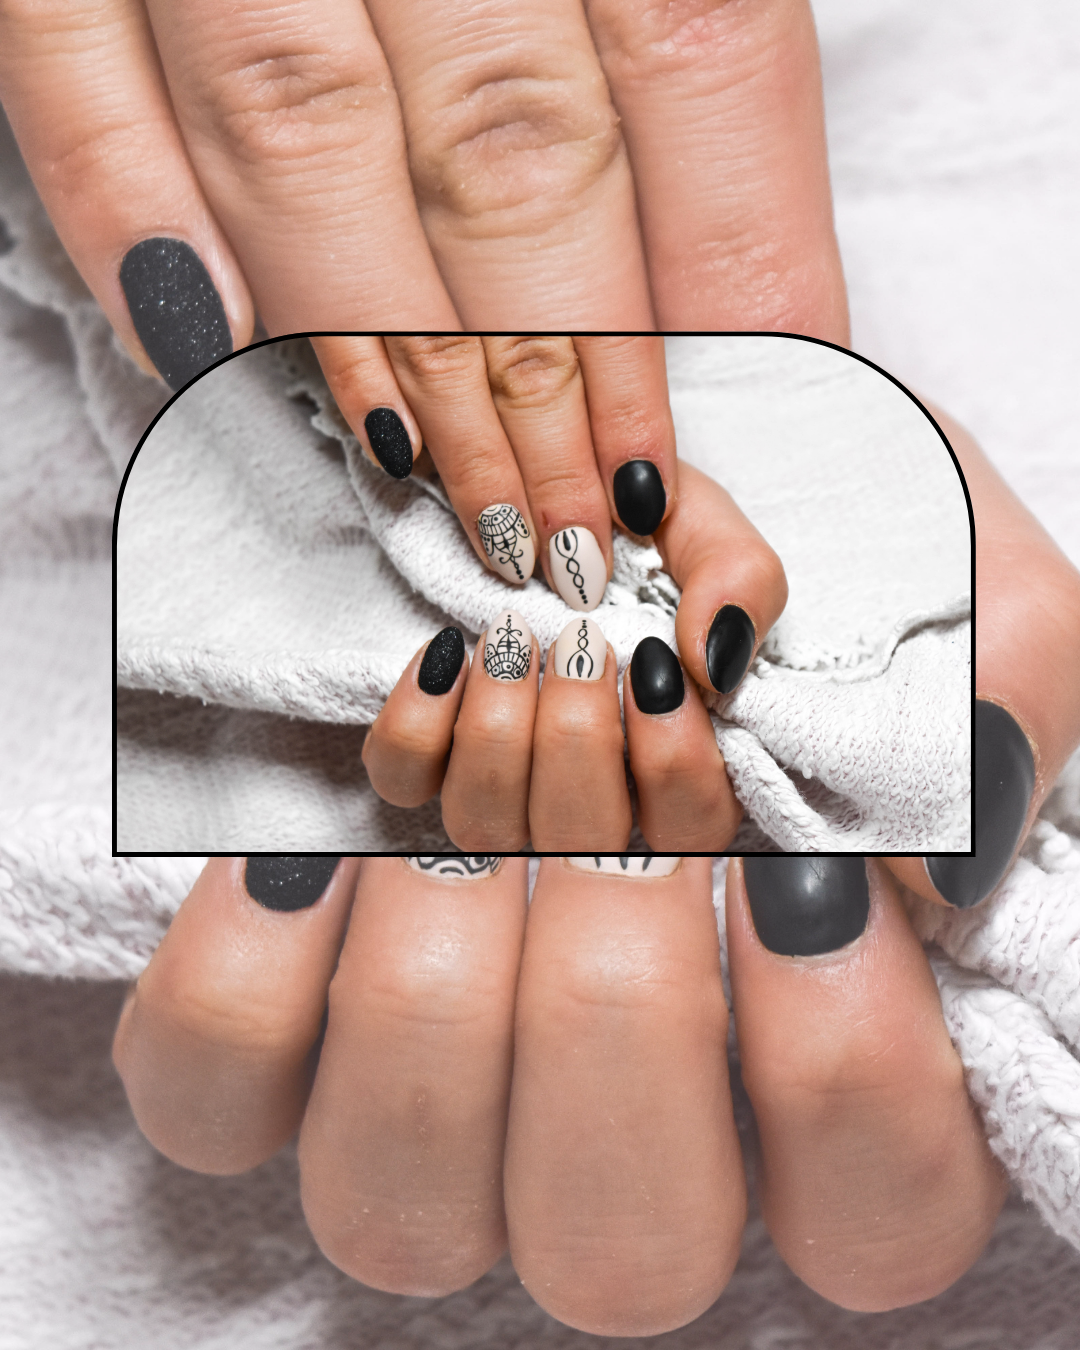
- Matte finish: Chic and editorial (less common but very stylish)
Make sure to seal the edges to prevent early chipping.